Overview
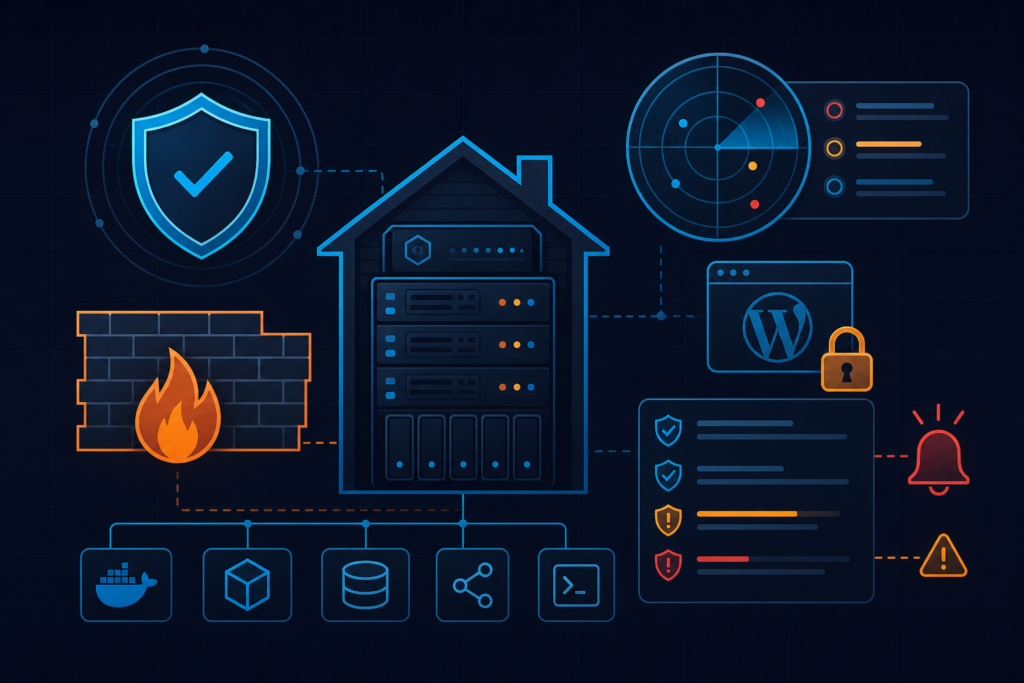
Wordfence scan settings and WordPress security hardening are two disciplines that most teams treat as separate concerns — and that separation is exactly where vulnerabilities hide. Wordfence gives you a capable scanner and a WAF, but neither does much for you if the underlying file permissions are loose, XML-RPC is open, or the scan schedule is set to “manual only” and nobody remembers to press the button.
This post covers the full picture: what Wordfence scan options actually control at the database level, how to harden the WordPress filesystem in a repeatable way, and how to tie everything together with a shell script and WP-CLI so the process is auditable and automatable. The goal is a layered security checklist you can apply to any WordPress installation and verify on a schedule — not a one-time click-through in the admin panel.
Wordfence stores its scan configuration in the wp_options table. The primary key is wordfence_scanType, alongside related rows such as wordfence_scan_include_extra_files and wordfence_schedMode. Understanding this means you can version-control your security posture, push it via WP-CLI during deployments, and detect if a plugin auto-update silently reverts your hardened configuration — a more common problem than most teams expect.
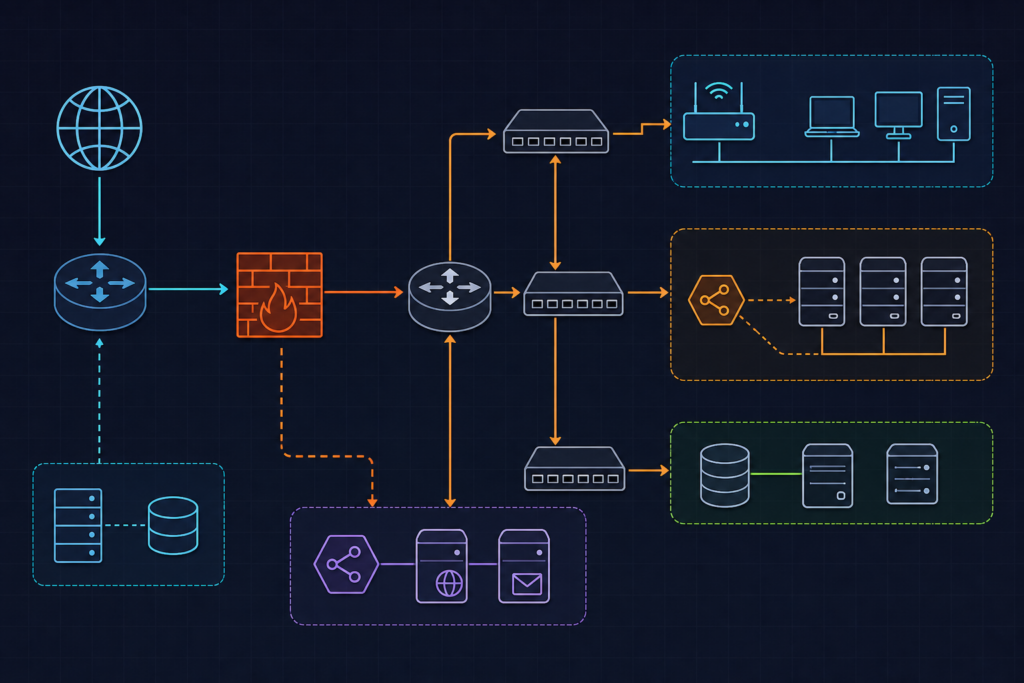
If you are also managing WAF rules at the edge, the approach we cover here pairs well with the Cloudflare WAF and Nginx hardening techniques documented on this site, where origin-level protection is handled separately from the application layer.
Before You Start
Before touching scan settings or file permissions, confirm the following baseline is in place.
Wordfence installed and activated. Both Free and Premium tiers support the WP-CLI integration we use here. Premium adds real-time threat intelligence feeds and scheduled scan automation through the admin UI, but the WP-CLI approach works on Free as well. If you are on Premium, note that your license key is stored in the wordfenceActivated option row — rotate it immediately after any credential exposure event.
WP-CLI available on the server. All automation in this guide depends on WP-CLI. Verify it is installed and accessible:
wp --info --allow-rootIf the command is not found, install it from wp-cli.org before proceeding.
SSH access with sufficient privileges. File permission changes require either root or the web server user (typically www-data or nginx). Running the hardening script as root with --allow-root is acceptable in a controlled deployment context; on shared hosting you will need to adapt accordingly.
A known-good backup. Permission changes and .htaccess modifications can break a misconfigured site. Take a full snapshot before running anything. This is not optional.
Wordfence WAF bootstrap file writable. During initial WAF setup, Wordfence writes to wp-content/wordfence-waf.php. If that file is not writable, the extended protection mode will fail silently. Verify ownership matches the web server process user before enabling WAF in extended mode.
Step 1 – Configure Wordfence Scan Settings
Wordfence exposes scan sensitivity through the admin UI, but the underlying options are plain rows in wp_options. Setting them via WP-CLI means your scan configuration is reproducible across environments and can be enforced during a deployment pipeline.
The three most consequential options are:
wordfence_scanType— controls overall sensitivity. Valid values includestandardandhigh_sensitivity. High sensitivity increases the number of file hashes checked and enables deeper malware signature matching, at the cost of higher CPU and memory usage during the scan window.wordfence_scan_include_extra_files— when set to1, extends scanning beyond WordPress core and known plugin/theme files to include any file present on disk. This catches dropped web shells and obfuscated payloads that live outside the standard directory structure.wordfence_schedMode— governs scheduling. The most common mistake in production environments is leaving this atmanualafter initial setup and never triggering it again, leaving malware undetected for weeks or longer.
Set these options directly:
wp --allow-root --path=/var/www/html option update wordfence_scanType "high_sensitivity"
wp --allow-root --path=/var/www/html option update wordfence_scan_include_extra_files 1
wp --allow-root --path=/var/www/html option update wordfence_schedMode "manual"
On high-traffic sites, you may also want to disable live traffic logging to reduce the volume of database writes Wordfence generates during peak hours:
wp --allow-root --path=/var/www/html option update wordfence_liveTrafficEnabled 0This does not affect scan results — it only controls whether individual HTTP requests are written to the Wordfence traffic log table. Refer to the Wordfence options reference for the full list of configurable keys.
Step 2 – Harden WordPress Core, Files, and Database
Scanner configuration tells Wordfence what to look for. File hardening reduces the attack surface before a threat has a chance to land. These two concerns reinforce each other: a well-hardened filesystem produces fewer false positives in scan results and makes genuine detections easier to triage.
File and Directory Permissions

The standard permission baseline for a WordPress installation is:
- Directories:
755 - Files:
644 wp-config.php:440— readable by owner and group only, not world-readablewp-content/uploads:755, but with PHP execution blocked at the web server level
Apply the baseline across the entire document root:
find /var/www/html -type d -exec chmod 755 {} \;
find /var/www/html -type f -exec chmod 644 {} \;
chmod 440 /var/www/html/wp-config.php
Block PHP Execution in the Uploads Directory
The uploads directory must be writable by the web server process, which makes it a common target for dropped web shells. Blocking PHP execution there is a critical control. Add a scoped .htaccess file inside wp-content/uploads/:
<Files "*.php">
  deny from all
</Files>
For Nginx, the equivalent directive belongs in your server block:
location ~* /wp-content/uploads/.*\.php$ {
    deny all;
}
Disable XML-RPC
XML-RPC is a legacy remote procedure call interface that most WordPress sites do not need. It is a frequent brute-force and DDoS amplification vector. Disable it by adding the following filter to your theme’s functions.php or a site-specific plugin:
add_filter( 'xmlrpc_enabled', '__return_false' );Alternatively, block it at the web server level. For Apache, add this to your root .htaccess:
<Files "xmlrpc.php">
  deny from all
</Files>
One important operational note: WordPress core updates and some plugin auto-updates can silently overwrite or append to .htaccess. Build a verification step into your deployment process to confirm these rules survive updates.
Step 3 – Validate and Automate the Security Checklist
Manual hardening steps are only as good as the last time someone ran them. The script below combines permission enforcement, Wordfence scan configuration, and a triggered scan into a single auditable operation. Run it on deploy, or schedule it via cron for recurring validation.
The script accepts the WordPress root path as its first argument, logs all actions to /var/log/wp-security-hardening.log, and exits non-zero on any failure — which makes it suitable for use in a CI/CD gate.
#!/usr/bin/env bash
# wordpress-security-hardening.sh
# Purpose: Apply file permission hardening and trigger Wordfence scan
# Usage: bash wordpress-security-hardening.sh /var/www/html

set -euo pipefail

WP_ROOT="${1:-/var/www/html}"
WP_CLI="wp --allow-root --path=${WP_ROOT}"
LOGFILE="/var/log/wp-security-hardening.log"
TIMESTAMP=$(date '+%Y-%m-%d %H:%M:%S')

echo "[${TIMESTAMP}] Starting WordPress security hardening at ${WP_ROOT}" | tee -a "${LOGFILE}"

# --- 1. Verify WP-CLI is available ---
if ! command -v wp &>/dev/null; then
  echo "ERROR: WP-CLI not found. Install from https://wp-cli.org/" | tee -a "${LOGFILE}"
  exit 1
fi

# --- 2. File and directory permission hardening ---
echo "[INFO] Setting directory permissions to 755..." | tee -a "${LOGFILE}"
find "${WP_ROOT}" -type d -exec chmod 755 {} \;

echo "[INFO] Setting file permissions to 644..." | tee -a "${LOGFILE}"
find "${WP_ROOT}" -type f -exec chmod 644 {} \;

echo "[INFO] Locking wp-config.php to 440..." | tee -a "${LOGFILE}"
chmod 440 "${WP_ROOT}/wp-config.php"

# --- 3. Block PHP execution in uploads directory ---
UPLOADS_DIR="${WP_ROOT}/wp-content/uploads"
HTACCESS_UPLOADS="${UPLOADS_DIR}/.htaccess"
if [[ ! -f "${HTACCESS_UPLOADS}" ]]; then
  echo "[INFO] Creating .htaccess to block PHP in uploads..." | tee -a "${LOGFILE}"
  cat > "${HTACCESS_UPLOADS}" <<'EOF'
<Files "*.php">
  deny from all
</Files>
EOF
fi

# --- 4. Disable XML-RPC via wp-config option (Wordfence can also block at WAF) ---
echo "[INFO] Disabling XML-RPC via WordPress option..." | tee -a "${LOGFILE}"
${WP_CLI} eval 'add_filter("xmlrpc_enabled", "__return_false");' 2>/dev/null || true

# --- 5. Configure Wordfence scan sensitivity via WP-CLI option update ---
echo "[INFO] Setting Wordfence scan type to high sensitivity..." | tee -a "${LOGFILE}"
${WP_CLI} option update wordfence_scanType "high_sensitivity"
${WP_CLI} option update wordfence_scan_include_extra_files 1
${WP_CLI} option update wordfence_schedMode "manual"

# --- 6. Trigger Wordfence scan ---
echo "[INFO] Triggering Wordfence scan..." | tee -a "${LOGFILE}"
${WP_CLI} wordfence scan --type=high_sensitivity 2>&1 | tee -a "${LOGFILE}"

# --- 7. Verify core file integrity ---
echo "[INFO] Verifying WordPress core checksums..." | tee -a "${LOGFILE}"
${WP_CLI} core verify-checksums 2>&1 | tee -a "${LOGFILE}"

echo "[${TIMESTAMP}] Hardening complete. Review log at ${LOGFILE}" | tee -a "${LOGFILE}"
The wp core verify-checksums command at the end is particularly valuable — it compares every core file against the official WordPress.org checksums and reports any modification. A modified core file is either a sign of a compromise or an undocumented manual edit; either way, it warrants investigation before the next deployment.
To schedule this as a nightly cron job under the web server user:
0 2 * * * www-data /usr/local/bin/bash /opt/scripts/wordpress-security-hardening.sh /var/www/html >> /var/log/wp-security-hardening.log 2>&1Troubleshooting
False Positives on Modified Core Files
Wordfence will flag any core file that does not match the official checksum, including files modified by caching plugins, object cache drop-ins, or manual edits. Before treating a flagged file as a compromise, run wp core verify-checksums independently and cross-reference the modification timestamp against your deployment history. If the change aligns with a known deployment, document it and add the file to Wordfence’s ignore list via the scan results UI.
Scan Timeouts on Large Sites
High-sensitivity scans on sites with large media libraries or many plugins can exceed PHP’s max_execution_time. Wordfence handles this by checkpointing scan progress, but if scans consistently fail to complete, check the following:
- Increase
max_execution_timeinphp.inior via.htaccess(php_value max_execution_time 300). - Run the scan via WP-CLI rather than the browser — CLI scans are not subject to PHP web process timeouts.
- Exclude the
wp-content/uploadsdirectory from file content scanning if it contains thousands of binary files; PHP execution is already blocked there, so deep content scanning adds limited value.
Permission Errors Blocking Scan Completion
If Wordfence reports it cannot read certain files during a scan, the web server process user likely does not have read access. This most commonly happens after running the hardening script as root without matching file ownership to the web server user. Correct ownership without changing permissions:
chown -R www-data:www-data /var/www/htmlSubstitute nginx or your actual web server user as appropriate. After correcting ownership, re-run the permission hardening step to ensure no files were inadvertently set to 600 or less during the ownership change.
Wordfence WAF Bootstrap File Not Writable
If you see a warning that Wordfence cannot write to wp-content/wordfence-waf.php, the file either does not exist or is owned by a different user than the web server process. Create it with correct ownership and a minimal placeholder, then re-run the WAF setup from the Wordfence admin panel:
touch /var/www/html/wp-content/wordfence-waf.php
chown www-data:www-data /var/www/html/wp-content/wordfence-waf.php
chmod 644 /var/www/html/wp-content/wordfence-waf.php
Going Further
Once the baseline hardening and scan automation are in place, there are three natural directions to extend this work.
Wordfence Central. If you manage multiple WordPress sites, Wordfence Central provides a single dashboard for scan results, alert configuration, and license management across all properties. Scan results from the WP-CLI workflow described here are visible in Central without any additional configuration.
WAF rule tuning. The Wordfence WAF ships with a default ruleset that covers the most common WordPress attack patterns, but high-traffic sites often need custom rules to reduce noise. Review the WAF’s learning mode output after running it for a week in detection-only mode before switching to blocking mode. Pair this with edge-level WAF rules — the Cloudflare WAF configuration approach covered on this site complements the application-layer WAF well, particularly for blocking volumetric attacks before they reach PHP.
CI/CD security gate. The hardening script exits non-zero on any failure, which makes it straightforward to integrate into a deployment pipeline. Add a post-deploy step that runs the script and parses the log for ERROR or scan result severity levels. If the scan reports critical findings, fail the pipeline and notify the team before the deployment is promoted to production. This turns the security checklist from a periodic manual task into an enforced quality gate on every release.