What We’re Building

Terraform S3 backend setup with DynamoDB state locking is the foundational pattern that makes collaborative infrastructure work reliable. Without it, two engineers running terraform apply simultaneously can corrupt state, and a single disk failure can wipe out the record of everything Terraform manages. This post covers the full setup: provisioning the backend infrastructure, configuring the backend block, and verifying that locking actually works before you hand this off to a team.
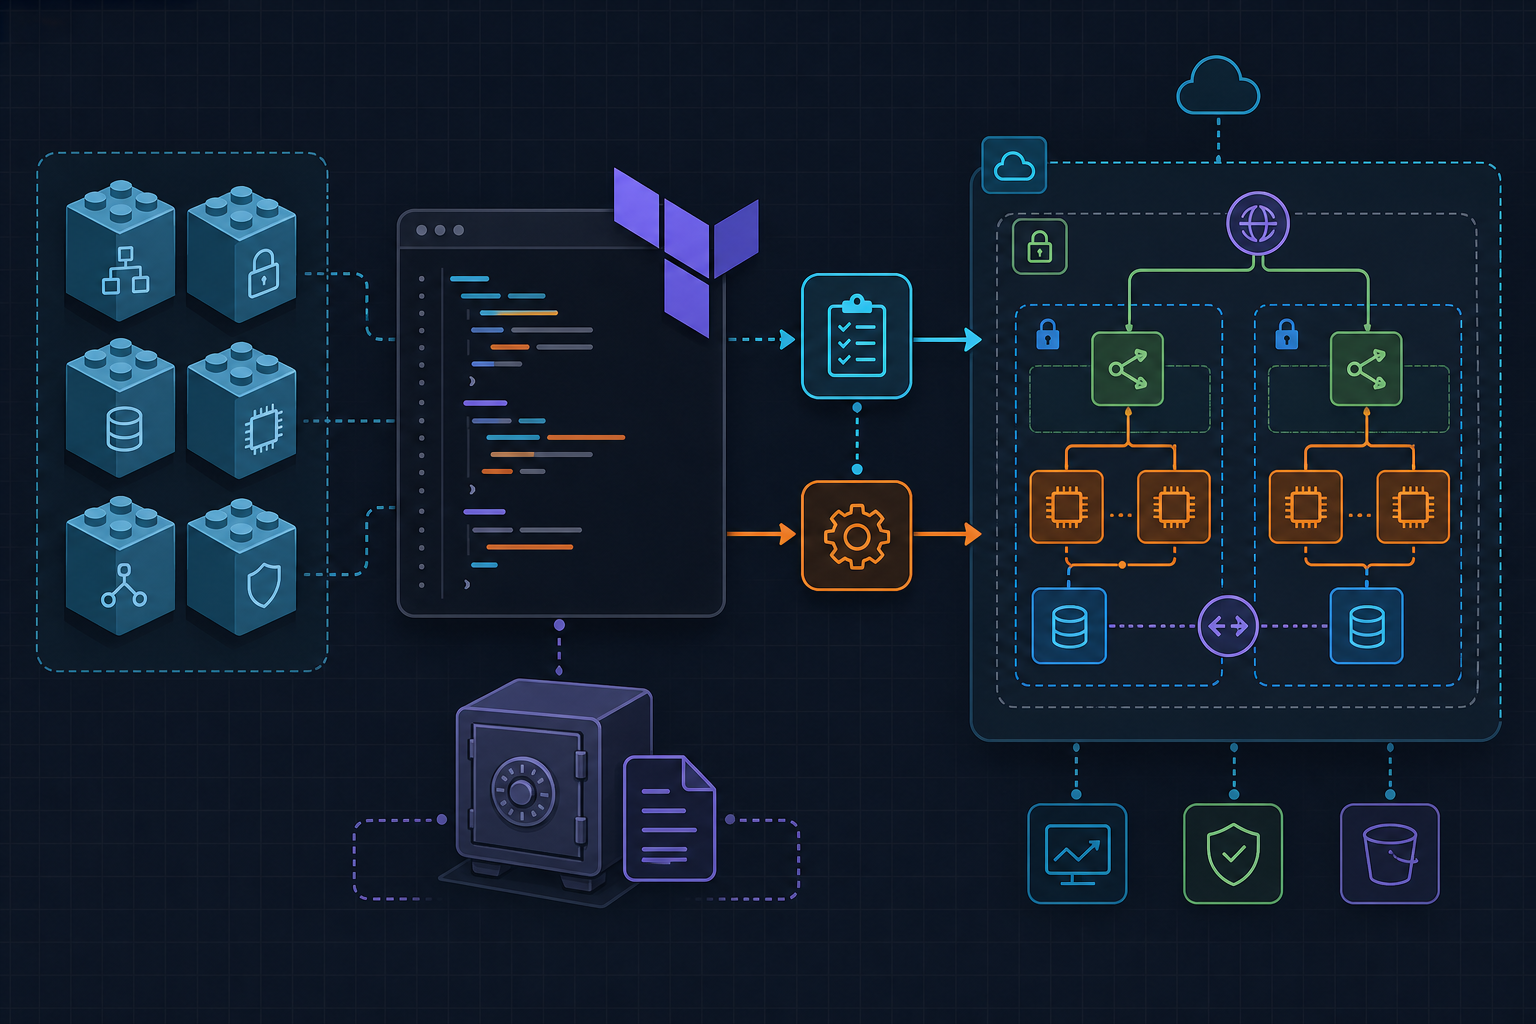
The architecture is straightforward. State files live in an S3 bucket with versioning and server-side encryption enabled. A DynamoDB table handles distributed locking — when any Terraform operation acquires a lock, it writes a record to DynamoDB; when the operation completes, the record is deleted. Any concurrent run that attempts to acquire the same lock gets a clear error rather than silently overwriting state.
We’ll provision the backend infrastructure in a dedicated backend-infra directory, then configure a separate application project to use it. Keeping these two concerns in separate Terraform roots is intentional — you don’t want the thing that manages your state backend to itself depend on remote state.
Prerequisites
Before starting, confirm the following are in place:
- Terraform 1.5+ installed locally. The S3 backend configuration syntax used here is stable across recent versions, but anything below 1.0 has behavioral differences worth avoiding.
- AWS CLI configured with a profile that has sufficient permissions. At minimum, the IAM identity running these commands needs
s3:CreateBucket,s3:PutBucketVersioning,s3:PutEncryptionConfiguration, anddynamodb:CreateTableto provision the backend resources. - IAM permissions for ongoing state operations — the identity used by your CI/CD pipeline or team members will need
s3:GetObject,s3:PutObject,s3:DeleteObjecton the state bucket, plusdynamodb:PutItem,dynamodb:GetItem, anddynamodb:DeleteItemon the lock table. We cover the policy structure in the next section. - A unique S3 bucket name ready. S3 bucket names are globally unique across all AWS accounts, so replace
kuryzhev-tf-state-prodin the examples with something specific to your organization.
If your team is already using IAM roles for CI/CD, review the IAM roles and least privilege policies post on kuryzhev.cloud before proceeding — the permission boundaries described there apply directly to the role that will access this backend.
Provision the S3 Bucket and DynamoDB Table
We provision the backend infrastructure using Terraform itself, in a standalone root module. This is a deliberate separation: this root uses local state (or a manually bootstrapped backend), and it outputs the resource names that your application projects will reference.
The configuration below creates the S3 bucket with versioning and AES256 encryption enabled, and a DynamoDB table with the partition key named exactly LockID — that name is not configurable; Terraform’s S3 backend hardcodes it.
# backend-infra/main.tf
# Step 1: Provision the S3 bucket and DynamoDB table for remote state

terraform {
  required_providers {
    aws = {
      source  = "hashicorp/aws"
      version = "~> 5.0"
    }
  }
}

provider "aws" {
  region = "us-east-1"
}

resource "aws_s3_bucket" "tf_state" {
  bucket = "kuryzhev-tf-state-prod"

  tags = {
    Purpose = "terraform-remote-state"
  }
}

resource "aws_s3_bucket_versioning" "tf_state" {
  bucket = aws_s3_bucket.tf_state.id

  versioning_configuration {
    status = "Enabled"
  }
}

resource "aws_s3_bucket_server_side_encryption_configuration" "tf_state" {
  bucket = aws_s3_bucket.tf_state.id

  rule {
    apply_server_side_encryption_by_default {
      sse_algorithm = "AES256"
    }
  }
}

resource "aws_dynamodb_table" "tf_lock" {
  name         = "kuryzhev-tf-lock"
  billing_mode = "PAY_PER_REQUEST"
  hash_key     = "LockID"

  attribute {
    name = "LockID"
    type = "S"
  }

  tags = {
    Purpose = "terraform-state-locking"
  }
}
Run terraform init && terraform apply inside backend-infra/. Once complete, you have a versioned, encrypted S3 bucket and a pay-per-request DynamoDB table — no capacity planning required for the lock table since state operations are infrequent and bursty.
One detail worth emphasizing: S3 versioning is not optional here. It is the only mechanism that lets you recover a previous state file after a failed apply or an accidental terraform state rm. Skipping it is the most common mistake teams make when bootstrapping this setup, and it’s painful to discover during an incident.
For the IAM policy, attach the following inline or managed policy to the role used by Terraform operations:
{
  "Version": "2012-10-17",
  "Statement": [
    {
      "Effect": "Allow",
      "Action": [
        "s3:GetObject",
        "s3:PutObject",
        "s3:DeleteObject"
      ],
      "Resource": "arn:aws:s3:::kuryzhev-tf-state-prod/*"
    },
    {
      "Effect": "Allow",
      "Action": "s3:ListBucket",
      "Resource": "arn:aws:s3:::kuryzhev-tf-state-prod"
    },
    {
      "Effect": "Allow",
      "Action": [
        "dynamodb:PutItem",
        "dynamodb:GetItem",
        "dynamodb:DeleteItem"
      ],
      "Resource": "arn:aws:dynamodb:us-east-1:*:table/kuryzhev-tf-lock"
    }
  ]
}
Scope the DynamoDB resource ARN to your specific account ID in production rather than using a wildcard.
Configure the Terraform S3 Backend
With the backend infrastructure in place, switch to your application Terraform project and add the backend block. The backend configuration lives inside the terraform {} block — either in main.tf or a dedicated backend.tf. Both approaches are valid; a separate file makes it easier to swap backends across environments without touching the main configuration.
# backend.tf (in your application Terraform project)

terraform {
  backend "s3" {
    bucket         = "kuryzhev-tf-state-prod"
    key            = "env/prod/terraform.tfstate"
    region         = "us-east-1"
    dynamodb_table = "kuryzhev-tf-lock"
    encrypt        = true
  }
}
The key field defines the S3 object path for the state file. Using a path like env/prod/terraform.tfstate gives you a clear namespace when multiple projects or environments share the same bucket. A common convention is <project>/<environment>/terraform.tfstate.
After writing this block, run terraform init. If the project previously used local state, Terraform will detect the existing terraform.tfstate file and prompt you to migrate it to S3. Confirm the migration — Terraform uploads the local state to the configured S3 path and leaves the local file in place as a backup.
# Initialize and migrate existing local state to S3
terraform init

# Expected output (on first init with migration):
# Initializing the backend...
# Do you want to copy existing state to the new backend?
#   Enter a value: yes
#
# Successfully configured the backend "s3"!
If you need to keep sensitive backend values — such as bucket names or account-specific paths — out of version control, use a partial configuration with a separate file:
# backend.hcl (gitignored)
bucket         = "kuryzhev-tf-state-prod"
key            = "env/prod/terraform.tfstate"
region         = "us-east-1"
dynamodb_table = "kuryzhev-tf-lock"
encrypt        = true
# Initialize using the external backend config file
terraform init -backend-config=backend.hcl
This pattern keeps the backend.tf file in version control with an empty backend block (backend "s3" {}) while the actual values are injected at init time. It’s particularly useful in CI/CD pipelines where backend configuration varies per environment. See the official Terraform S3 backend documentation for the full list of supported arguments.
Test State Locking and Remote Operations
Configuration alone doesn’t confirm that locking works. Run through these verification steps before treating the setup as production-ready.
First, confirm that state is being written to S3 after a plan or apply:
# Run a plan to trigger a state refresh and lock acquisition
terraform plan

# After the plan completes, verify the state file exists in S3
aws s3 ls s3://kuryzhev-tf-state-prod/env/prod/
# Expected: terraform.tfstate listed with a recent timestamp
Next, inspect the remote state directly without pulling it locally:
# List all resources tracked in remote state
terraform state list

# Show details for a specific resource
terraform state show aws_vpc.main
These commands operate against the S3 backend transparently — no local state file is required.
To observe locking in action, open two terminal sessions and run terraform apply in both simultaneously. The second process will output an error similar to the following:
Error: Error acquiring the state lock

Error message: ConditionalCheckFailedException: The conditional request failed
Lock Info:
  ID:        a1b2c3d4-e5f6-7890-abcd-ef1234567890
  Path:      kuryzhev-tf-state-prod/env/prod/terraform.tfstate
  Operation: OperationTypeApply
  Who:       engineer@workstation
  Created:   2024-01-15 10:23:45.123456789 +0000 UTC
That error is the expected behavior — it means locking is working correctly. The Lock Info block tells you who holds the lock and when it was acquired.
In rare cases where a Terraform process is killed mid-operation, the lock record remains in DynamoDB. Release it manually using the lock ID from the error output:
# Force-release a stuck lock — confirm the owning process is truly dead before running this
terraform force-unlock a1b2c3d4-e5f6-7890-abcd-ef1234567890
Use force-unlock with care. If the original process is still running and you release its lock, you risk a concurrent state write. Verify the lock owner is gone before proceeding.
Finally, confirm that S3 versioning is capturing state history:
# List all versions of the state file
aws s3api list-object-versions \
  --bucket kuryzhev-tf-state-prod \
  --prefix env/prod/terraform.tfstate \
  --query "Versions[*].{VersionId:VersionId,LastModified:LastModified}"
Each terraform apply should produce a new version. If you need to roll back to a previous state, retrieve the specific version ID and restore it — though in practice, terraform state subcommands are usually the better recovery path for targeted fixes.
What to Do Next
With a working S3 backend in place, a few natural extensions are worth considering depending on your team’s scale and workflow.
Terraform workspaces allow multiple state files within the same backend configuration, useful for ephemeral environments. When you create a workspace named staging, Terraform automatically writes state to env:staging/env/prod/terraform.tfstate (prefixed under env:). The Terraform workspaces documentation covers the naming conventions and limitations in detail. Note that workspaces are not a substitute for separate root modules when environments have meaningfully different configurations.
Backend migration — if you’re moving an existing project from a different backend (Terraform Cloud, a different S3 bucket, or local state), the migration path is always terraform init after updating the backend block. Terraform handles the state transfer; the risk is in the transition window where the old backend still holds state. Coordinate with your team to ensure no one runs operations against the old backend during migration.
Team workflow patterns — in a CI/CD context, the backend configuration typically lives in a backend.hcl file that is injected per environment by the pipeline. Combine this with a pipeline that enforces plan-before-apply and requires manual approval on production applies. The GitHub Actions pipeline with manual approval and Helm rollback post on kuryzhev.cloud shows one way to structure that gate in a real pipeline.
If your organization manages multiple AWS accounts, consider whether a centralized state bucket in a dedicated tooling account is preferable to per-account buckets. The cross-account IAM role pattern works well here — the state bucket lives in one account, and application pipelines assume a role with the specific S3 and DynamoDB permissions scoped to that bucket.