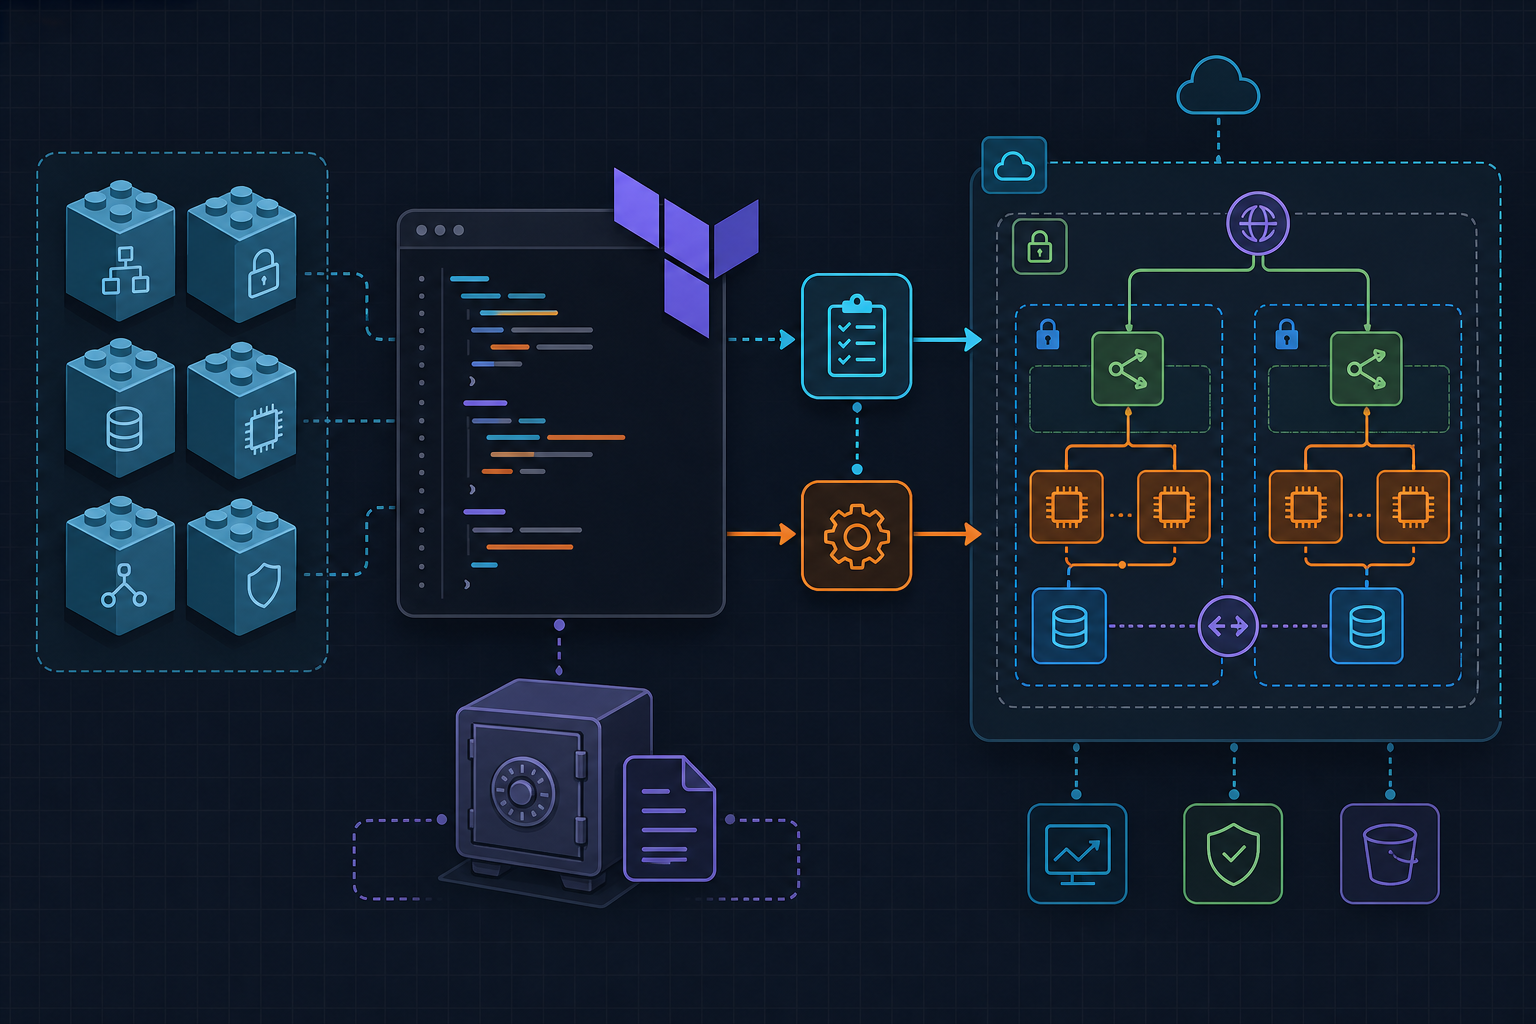
What We’re Building
Terraform remote state on AWS S3 with DynamoDB state locking is the standard pattern teams reach for when local terraform.tfstate files stop being acceptable — which happens faster than most people expect. A single merge conflict on a state file, or two engineers running terraform apply simultaneously against the same environment, is usually enough to motivate the migration.
By the end of this tutorial you will have a versioned, encrypted S3 bucket storing your state file, a DynamoDB table enforcing exclusive write locks, and a backend block that any Terraform project in your organization can adopt with a one-line key change. We will also cover how to verify locking behavior and what to watch for when you start sharing state across projects.
The infrastructure we provision here follows the same remote-state conventions used across the projects documented on kuryzhev.cloud, including the module-wiring patterns covered in earlier Terraform posts.
Prerequisites
Before writing a single line of HCL, confirm the following are in place:
- Terraform 1.6.0 or later. The
required_versionconstraint in the code below enforces this. Runterraform versionto check. - AWS CLI configured. Either a named profile (
AWS_PROFILE) or environment variables (AWS_ACCESS_KEY_ID,AWS_SECRET_ACCESS_KEY,AWS_REGION) must resolve to a valid identity beforeterraform initwill succeed. - IAM permissions. The identity running Terraform needs
s3:CreateBucket,s3:PutBucketVersioning,s3:PutEncryptionConfiguration,s3:PutBucketPublicAccessBlock, anddynamodb:CreateTableto bootstrap the backend resources. Once the backend is live, ongoing operations requires3:GetObject,s3:PutObject,s3:DeleteObject,dynamodb:PutItem,dynamodb:GetItem, anddynamodb:DeleteItem. Scope these to the specific bucket ARN and table ARN — not a wildcard. - A globally unique bucket name. S3 bucket names are global. Replace
kuryzhev-tfstate-prodthroughout with something specific to your organization.
One structural note worth stating upfront: the bootstrap resources (the S3 bucket and DynamoDB table) live in a separate Terraform configuration — a bootstrap/ directory — that you apply once with a local state file. You do not configure a remote backend for the bootstrap project itself, because the backend does not exist yet. This is the standard chicken-and-egg resolution for this pattern.
Create the S3 Bucket and DynamoDB Table
The bootstrap configuration provisions everything the backend needs: a versioned, server-side-encrypted, fully private S3 bucket and a DynamoDB table with a LockID partition key. The partition key name must be exactly LockID with type String — Terraform’s S3 backend hardcodes this expectation and will fail silently if the attribute name differs.
Place the following in bootstrap/main.tf and run it with a local state file. You will apply this configuration exactly once.
# bootstrap/main.tf — provision the backend resources themselves
# Run this once manually before configuring the backend above

provider "aws" {
  region = "us-east-1"
}

resource "aws_s3_bucket" "tfstate" {
  bucket = "kuryzhev-tfstate-prod"

  lifecycle {
    prevent_destroy = true
  }
}

resource "aws_s3_bucket_versioning" "tfstate" {
  bucket = aws_s3_bucket.tfstate.id

  versioning_configuration {
    status = "Enabled"
  }
}

resource "aws_s3_bucket_server_side_encryption_configuration" "tfstate" {
  bucket = aws_s3_bucket.tfstate.id

  rule {
    apply_server_side_encryption_by_default {
      sse_algorithm = "AES256"
    }
  }
}

resource "aws_s3_bucket_public_access_block" "tfstate" {
  bucket                  = aws_s3_bucket.tfstate.id
  block_public_acls       = true
  block_public_policy     = true
  ignore_public_acls      = true
  restrict_public_buckets = true
}

resource "aws_dynamodb_table" "tf_lock" {
  name         = "terraform-state-lock"
  billing_mode = "PAY_PER_REQUEST"
  hash_key     = "LockID"

  attribute {
    name = "LockID"
    type = "S"
  }

  tags = {
    Project   = "kuryzhev-infra"
    ManagedBy = "terraform"
  }
}
A few decisions worth explaining here. prevent_destroy = true on the S3 bucket is non-negotiable in production — accidentally destroying the bucket that holds all your state files is a catastrophic, potentially unrecoverable event. billing_mode = "PAY_PER_REQUEST" on the DynamoDB table keeps costs near zero for most teams, since lock operations are infrequent. Versioning on the bucket is equally critical: if a corrupted state file gets written, S3 versioning is your rollback mechanism.
Run the bootstrap apply from inside the bootstrap/ directory:
cd bootstrap
terraform init
terraform apply
Verify the resources exist in the AWS console or via CLI before proceeding. The DynamoDB table should show zero items — that is correct and expected at this stage.
Configure the Terraform S3 Backend
With the infrastructure in place, add the backend block to your actual Terraform project. The backend configuration belongs in a dedicated backend.tf file at the root of the project, or inside the top-level terraform {} block in main.tf. Either location works; a separate file makes it easier to see at a glance which backend a project uses.
# backend.tf — S3 remote backend with DynamoDB locking

terraform {
  required_version = ">= 1.6.0"

  backend "s3" {
    bucket         = "kuryzhev-tfstate-prod"
    key            = "services/api/terraform.tfstate"
    region         = "us-east-1"
    encrypt        = true
    dynamodb_table = "terraform-state-lock"
  }
}
The key value deserves careful attention. It defines the path within the S3 bucket where this project’s state file will be stored. The most common mistake teams make when scaling this pattern is reusing the same key across multiple projects, which causes one project’s apply to silently overwrite another’s state. A reliable convention is <team>/<service>/terraform.tfstate or <environment>/<component>/terraform.tfstate — whichever maps cleanly to your directory structure.
The encrypt = true flag enables server-side encryption for the state file at rest, layering on top of the bucket-level AES256 encryption configured in the bootstrap step. Both should be present.
After writing the backend block, initialize the project. If you are migrating an existing project that already has a local state file, use the -migrate-state flag:
# Fresh project — no existing state
terraform init

# Existing project with local terraform.tfstate
terraform init -migrate-state
Terraform will prompt you to confirm the migration. After init completes, the local terraform.tfstate file becomes a stale artifact. You can delete it — the authoritative copy now lives in S3. Refer to the official Terraform S3 backend documentation for the full list of supported backend arguments, including options for assuming an IAM role during backend operations.
Test State Locking and Remote Operations
Configuration is only half the story. Before this backend goes anywhere near a CI/CD pipeline or a shared team environment, you should verify that locking actually works and that remote state reads behave as expected.
The simplest locking test is to open two terminals and run terraform apply in both simultaneously against the same project. The second invocation should fail immediately with a message similar to:
Error: Error acquiring the state lock

Error message: ConditionalCheckFailedException: The conditional request failed
Lock Info:
  ID:        a1b2c3d4-e5f6-7890-abcd-ef1234567890
  Path:      kuryzhev-tfstate-prod/services/api/terraform.tfstate
  Operation: OperationTypeApply
  Who:       user@hostname
  Version:   1.6.x
  Created:   2026-05-28 ...
  Info:
That error is the correct behavior. The DynamoDB table will contain one item during the locked operation — you can confirm this with a quick aws dynamodb scan --table-name terraform-state-lock. The item disappears once the lock is released.
If a process dies mid-apply and leaves a stuck lock, you can release it manually. Use this with caution and only after confirming no other process is actively holding the lock:
# Release a stuck lock — verify no active apply is running first
terraform force-unlock a1b2c3d4-e5f6-7890-abcd-ef1234567890
For time-sensitive pipelines where you want applies to wait rather than fail immediately, pass the -lock-timeout flag:
terraform apply -lock-timeout=30sTo verify remote state reads, use terraform state list from a second machine or CI runner after the initial apply. If the backend is configured correctly and IAM permissions are scoped properly, the command will return the resource addresses from the remote state without requiring any local state file.
When using named workspaces, be aware that Terraform stores workspace state under the path env://<workspace>/services/api/terraform.tfstate within the bucket. The default workspace uses the key path exactly as written in the backend block. This matters when you are writing cross-project data source references using terraform_remote_state — the key path must account for the workspace prefix if the source project uses non-default workspaces.
What to Do Next
With a working remote backend in place, a few natural next steps present themselves depending on how your infrastructure is organized.
State migration for existing projects. If you have other Terraform projects still running with local state, terraform init -migrate-state is the path forward. Run it project by project, verify the remote state matches the last local state, and then remove the local file. Do not rush this — validate each migration before moving to the next project.
Workspace-based environment separation. Named workspaces let a single Terraform configuration manage multiple environments (staging, production) against the same backend, with isolated state files per workspace. This works well for smaller teams. Larger organizations often prefer separate backend configurations per environment entirely, trading flexibility for clearer isolation and separate IAM boundaries.
Cross-project state sharing. Once multiple projects write state to the same S3 bucket, you can read outputs from one project inside another using the terraform_remote_state data source. A common pattern is a shared networking project that exports VPC IDs and subnet IDs, consumed by every application project. The key to making this work reliably is a consistent key naming convention — which is why getting that right from the start matters more than it might seem.
IAM hardening. Review the IAM policy attached to your CI/CD pipeline identity and confirm it references the specific bucket ARN and table ARN rather than wildcards. The AWS IAM best practices documentation covers the least-privilege principles that apply here, and the IAM scoping patterns for CI/CD pipelines are covered in depth in a dedicated post on kuryzhev.cloud.
The backend configuration you have now is production-ready. Versioning protects against corruption, encryption satisfies most compliance requirements, and DynamoDB locking eliminates the race conditions that make shared Terraform workflows unreliable without it.