Why n8n for Content Workflows?
If you run a blog or content pipeline, you already know the pain: drafting posts, uploading assets, updating metadata, notifying team members. All of this is manual, repetitive, and error-prone. n8n is a self-hosted workflow automation tool that connects services with a visual editor and real code nodes. In this tutorial we will build a real content automation workflow that accepts a webhook trigger, calls an AI API to generate a draft, saves the result to S3, and posts a Slack notification — all wired together in n8n running on a small VPS or EC2 instance.
What You Will Build
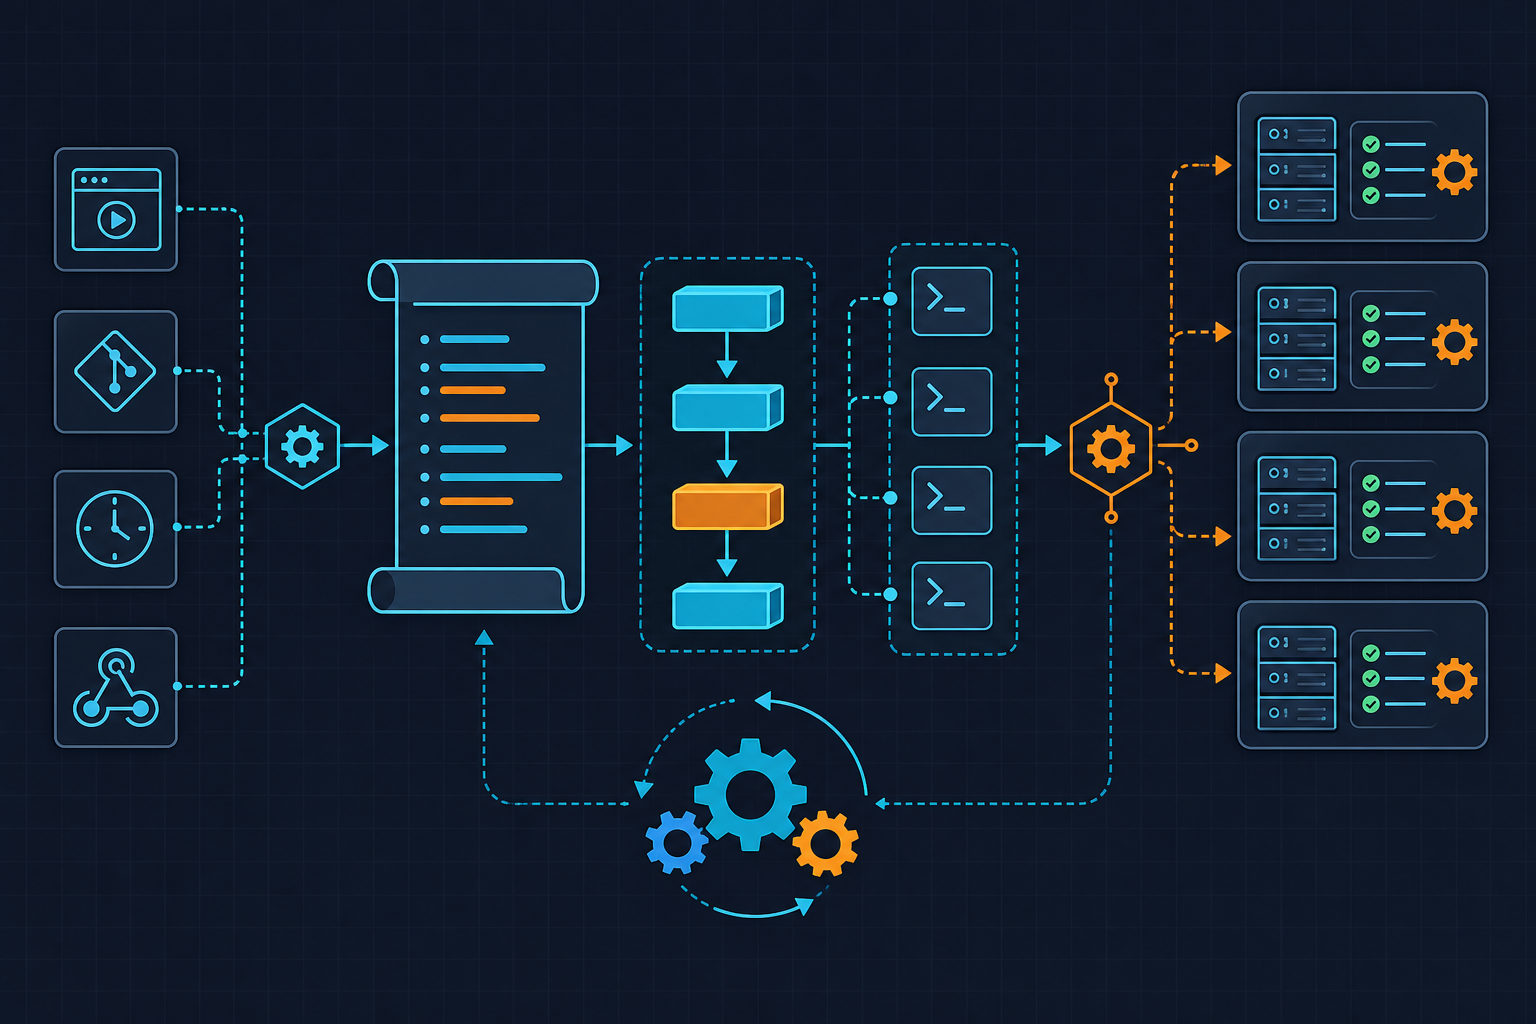
The workflow has five stages: a Webhook node receives a POST request with a topic and metadata, an HTTP Request node calls the OpenAI API to generate a draft, a Function node cleans and formats the output into HTML, an AWS S3 node uploads the file to your content bucket, and a Slack node fires a notification with the S3 URL. Every step is reproducible and version-controlled as a JSON export you can import into any n8n instance.
Install n8n with Docker Compose
The fastest way to get n8n running is Docker Compose. Create a directory and drop in the following file. Replace the environment values with your own credentials before starting.
# docker-compose.yml
version: "3.8"

services:
  n8n:
    image: n8nio/n8n:latest
    container_name: n8n
    restart: unless-stopped
    ports:
      - "5678:5678"
    environment:
      - N8N_BASIC_AUTH_ACTIVE=true
      - N8N_BASIC_AUTH_USER=admin
      - N8N_BASIC_AUTH_PASSWORD=changeme123
      - N8N_HOST=your-domain.com
      - N8N_PORT=5678
      - N8N_PROTOCOL=https
      - WEBHOOK_URL=https://your-domain.com/
      - GENERIC_TIMEZONE=UTC
      # AWS credentials for S3 node
      - AWS_ACCESS_KEY_ID=AKIAIOSFODNN7EXAMPLE
      - AWS_SECRET_ACCESS_KEY=wJalrXUtnFEMI/K7MDENG/bPxRfiCYEXAMPLEKEY
      - AWS_DEFAULT_REGION=us-east-1
    volumes:
      - n8n_data:/home/node/.n8n

volumes:
  n8n_data:
Start it with docker compose up -d and open http://your-server:5678 in your browser. Log in with the credentials you set above.
Build the Workflow Step by Step
Inside n8n, create a new workflow and add nodes in this order. Each node is configured through the GUI but the logic below explains exactly what each one does so you can replicate or script it.
Node 1 — Webhook: Set method to POST and path to /content-draft. The incoming JSON body should contain topic, author, and category fields. n8n will expose the full URL once you activate the workflow.
Node 2 — HTTP Request (OpenAI): Method POST, URL https://api.openai.com/v1/chat/completions. Set the Authorization header to Bearer YOUR_OPENAI_KEY. The body is JSON with model gpt-4o, and the messages array contains a system prompt and a user message built from the webhook data using n8n expressions like {{ $json.topic }}.
Node 3 — Function Node (Format Output): This JavaScript node extracts the AI response and wraps it in a minimal HTML structure ready for WordPress import.
// n8n Function Node — format AI draft as HTML
const rawText = $input.item.json.choices[0].message.content;
const topic   = $('Webhook').item.json.body.topic;
const author  = $('Webhook').item.json.body.author;
const date    = new Date().toISOString().split('T')[0];

const slug    = topic.toLowerCase().replace(/\s+/g, '-').replace(/[^a-z0-9-]/g, '');
const filename = `drafts/${date}-${slug}.html`;

const html = `


  ${topic}


  ${topic}
  ${rawText}


`;

return [{ json: { html, filename, slug, topic, author, date } }];
Node 4 — AWS S3 (Upload): Use the built-in n8n S3 node. Set operation to Upload, bucket name to your content bucket (e.g. devops-days-content), file name to {{ $json.filename }}, and file content to {{ $json.html }}. Set ACL to private — you do not want drafts public.
Node 5 — Slack (Notify): Add a Slack node with your bot token. Post to your #content-team channel. The message can include the topic, author, date, and a direct S3 console link constructed from the bucket and filename values.
Trigger the Workflow with curl
Once the workflow is active, test it from your terminal. Replace the URL and values with your own.
#!/bin/bash
# trigger-content-draft.sh
# Usage: bash trigger-content-draft.sh

WEBHOOK_URL="https://your-domain.com/webhook/content-draft"

curl -s -X POST "$WEBHOOK_URL" \
  -H "Content-Type: application/json" \
  -d '{
    "topic": "How to monitor Kubernetes pods with Prometheus",
    "author": "devops_days",
    "category": "Kubernetes"
  }' | python3 -m json.tool

echo ""
echo "Draft request sent. Check Slack for the S3 upload confirmation."
Within a few seconds you should see the Slack message arrive with the filename and a link to the S3 object. The HTML draft is now sitting in your bucket ready for editorial review.
IAM Policy for the S3 Upload
Follow least-privilege principles. The IAM user or role used by n8n should only be able to write to the drafts prefix in your content bucket, nothing else.
{
  "Version": "2012-10-17",
  "Statement": [
    {
      "Sid": "AllowDraftUpload",
      "Effect": "Allow",
      "Action": [
        "s3:PutObject",
        "s3:GetObject"
      ],
      "Resource": "arn:aws:s3:::devops-days-content/drafts/*"
    },
    {
      "Sid": "AllowListBucket",
      "Effect": "Allow",
      "Action": "s3:ListBucket",
      "Resource": "arn:aws:s3:::devops-days-content",
      "Condition": {
        "StringLike": {
          "s3:prefix": "drafts/*"
        }
      }
    }
  ]
}
Attach this policy to the IAM user whose keys you put in the Docker Compose file. Rotate those keys regularly and consider switching to an EC2 instance profile if n8n runs on EC2 — that way no long-lived credentials are stored at all.
Export and Version Control the Workflow
n8n lets you export any workflow as JSON from the menu. Commit that file to your Git repository alongside your Docker Compose file. This means the entire automation — infrastructure and logic — lives in source control and can be restored or deployed to a new instance in minutes.
# export workflow from running n8n via CLI inside the container
docker exec -it n8n n8n export:workflow --all --output=/home/node/.n8n/workflows-backup.json

# copy it out to the host
docker cp n8n:/home/node/.n8n/workflows-backup.json ./n8n-workflows-backup.json

# add to git
git add n8n-workflows-backup.json docker-compose.yml
git commit -m "chore: backup n8n content workflow and compose config"
git push
What to Add Next
This workflow is a solid foundation. From here you can extend it in several directions: add an n8n Schedule Trigger to generate weekly topic drafts automatically, wire in a second HTTP node to post directly to the WordPress REST API once a draft is approved, or add an error branch that catches failures and sends a separate Slack alert with the error message. The modular node structure of n8n makes all of these additions straightforward without rewriting the core flow.